A professional tile roof inspection process follows a structured sequence of steps that typically takes 45 to 90 minutes, depending on roof size and complexity. The inspector examines tiles, underlayment indicators, flashing, penetrations, and structural components before compiling findings into a detailed report with photos and recommendations. Most inspections conclude with an on-site discussion followed by a written document within 24 to 48 hours.
Many homeowners schedule inspections after storms, before buying or selling a home, or when they notice small issues like a single cracked tile. Understanding each phase of the inspection helps you ask better questions and make informed decisions about repairs or replacements.
Why Tile Roofs Require Specialized Inspection Techniques
Tile roofs behave differently than asphalt shingle or metal systems. Concrete and clay tiles can last 50 years or more, but the underlayment beneath them typically fails after 20 to 30 years. An inspector trained in tile roofing knows to look for signs of hidden deterioration even when the tiles themselves appear intact.
Walking on tile roofs requires specific training and equipment. Inspectors use foam pads or walk boards to distribute weight and prevent cracking. They know which tiles can bear weight and which areas to avoid entirely, such as valleys and ridges where tiles sit at angles.
The Arrival and Initial Ground-Level Assessment
The inspection begins the moment the contractor arrives at your property. Before climbing onto the roof, the inspector walks the perimeter of your home to observe the roof from all sides. This ground-level assessment reveals obvious issues like missing tiles, sagging sections, or vegetation growth.
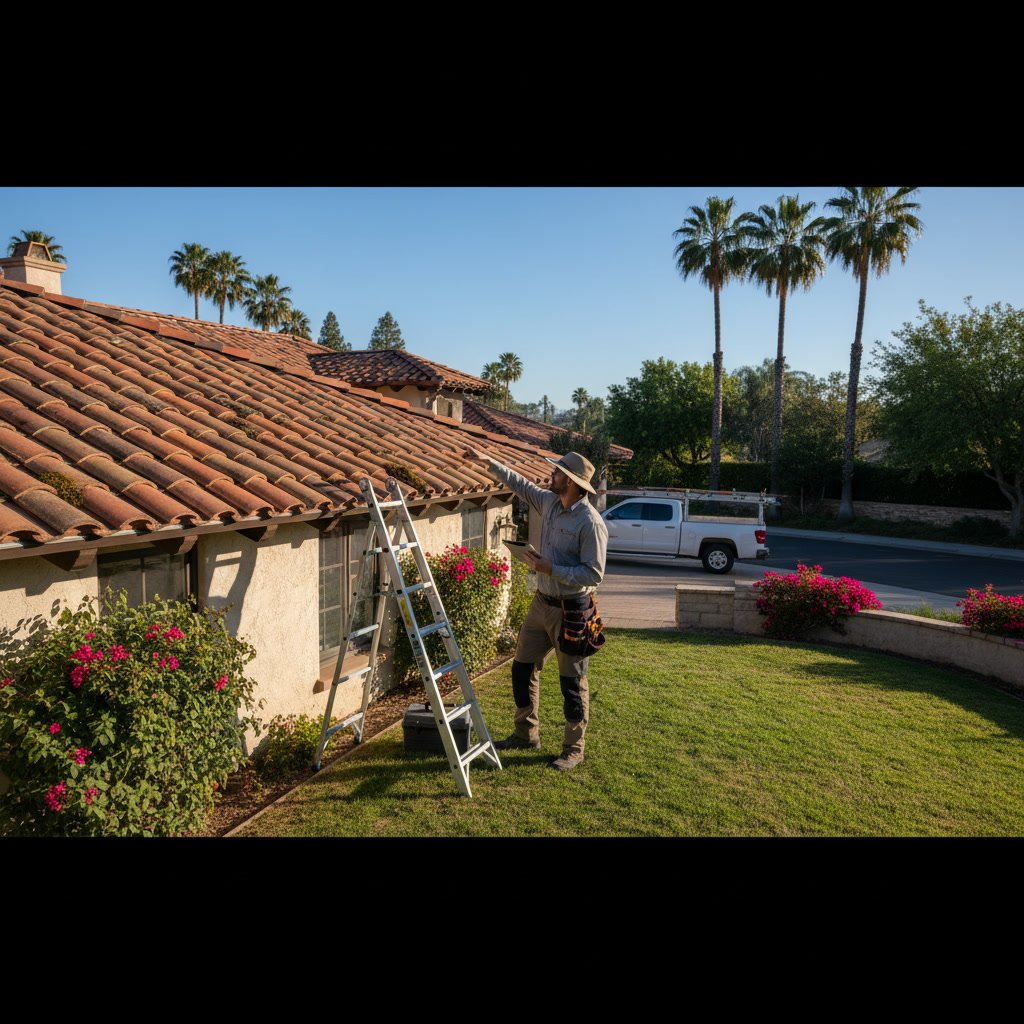
During this phase, the inspector also evaluates access points, notes the roof pitch, and identifies any safety concerns. Steep slopes, multiple stories, or nearby power lines may require additional safety equipment. The inspector documents the roof age, tile type, color, and overall configuration.
Gutters and downspouts receive attention during the ground assessment. Granules, tile fragments, or excessive debris in gutters indicate deterioration. The inspector checks for proper drainage and looks for water stains on fascia boards or soffits that suggest past or present leaks.
Ladder Setup and Roof Access Safety Protocols
Professional inspectors use extension ladders that extend at least three feet above the roof edge. The ladder is positioned at the correct angle, roughly one foot away from the house for every four feet of height, and secured at the top to prevent shifting.
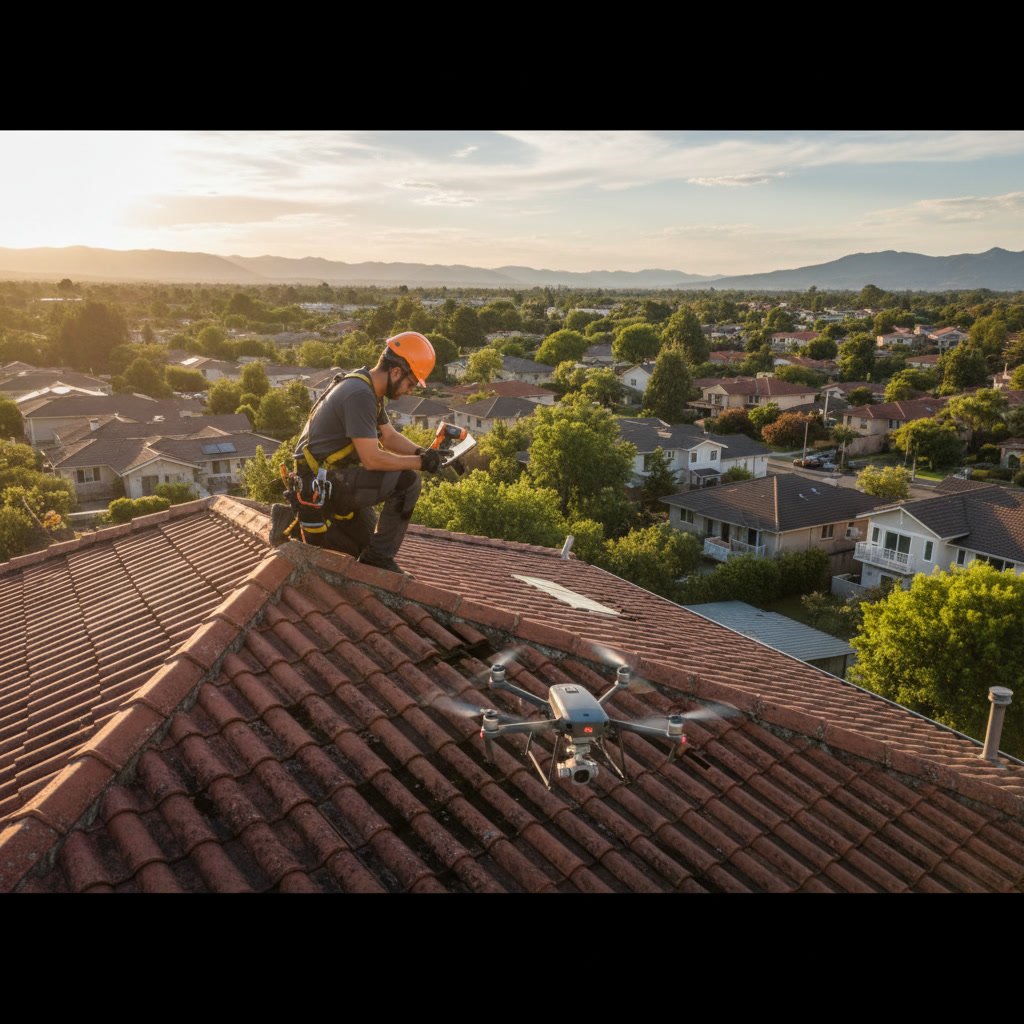
Safety equipment includes non-slip footwear, fall protection harnesses when required by pitch or height, and communication devices. Some inspectors work in pairs on complex or large roofs, while others use drones for preliminary overviews before the physical climb.
Surface-Level Tile Examination in Valrico Homes
Once on the roof, the inspector begins a systematic examination of the tile surface. Concrete and clay tiles crack differently. Clay tiles often crack in clean lines, while concrete tiles show more spalling and surface erosion. The inspector tests questionable tiles by gently tapping them, listening for the hollow sound that indicates delamination or cracking.
The inspection covers every section, moving methodically from one area to the next. Inspectors look for displaced tiles, lippage where tiles no longer sit flush, and mortar deterioration at hips and ridges. They document the percentage of damaged tiles and note patterns that suggest underlying problems rather than isolated damage.
If you live in areas like Riverview or other parts of the Tampa Bay region, your inspector will look for storm damage patterns common to the area, including tile displacement from high winds and impact damage from fallen branches.
Underlayment Assessment Without Removing Tiles
The most critical and challenging part of any roof inspection involves assessing the underlayment beneath intact tiles. Inspectors cannot see the underlayment directly without removing tiles, so they look for indirect indicators.
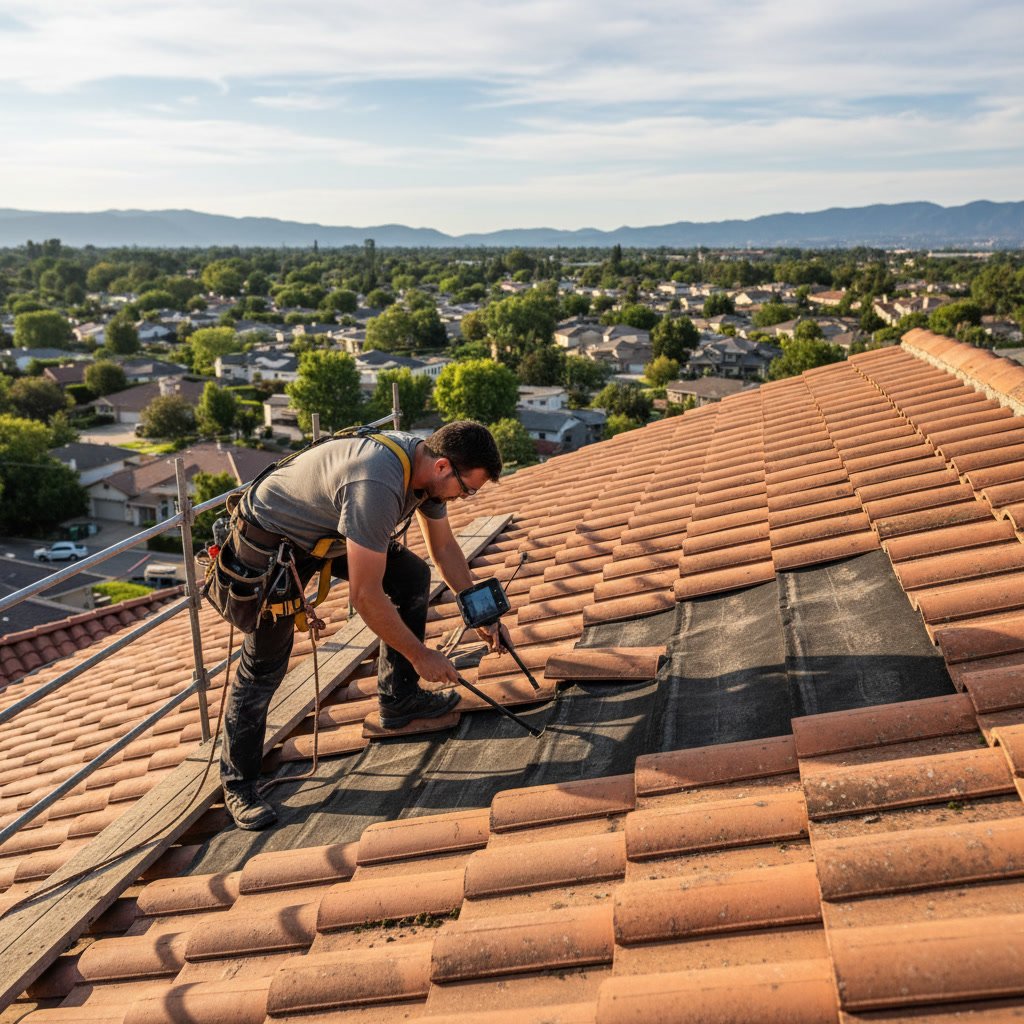
These indicators include water stains on the underside of tiles when lifted slightly, soft spots when walking that suggest decking deterioration, and visible underlayment at eaves, rakes, and penetrations. Inspectors may lift a few tiles in strategic locations to spot-check underlayment condition, particularly in valleys and around chimneys where water concentrates. Homeowners dealing with failing underlayment beneath intact tiles often miss these early warning signs.
Step-by-Step Flashing and Penetration Inspection
Every roof penetration represents a potential leak point. The inspector examines each one carefully using a methodical checklist:
Step 1: Chimney Inspection – Check counter flashing, step flashing, cricket or saddle presence, mortar condition, and crown integrity. Look for gaps where flashing meets the chimney or tiles.
Step 2: Vent Pipe Examination – Verify proper boot condition, seal integrity around the pipe, and correct flashing installation. Rubber boots deteriorate in Florida sun and typically need replacement every 10 to 15 years.
Step 3: Valley Assessment – Examine valley flashing for corrosion, proper overlap, and adequate width. Valleys channel large volumes of water and show wear before other roof areas.
Step 4: Roof-to-Wall Transitions – Inspect step flashing where roof meets vertical walls, looking for gaps, rust, or missing sections. Check that flashing extends properly under siding or stucco.
Step 5: Ridge and Hip Caps – Test mortar-set ridge tiles for looseness and check mechanical fasteners if present. Document any missing or cracked cap tiles.
Attic Inspection for Interior Signs of Damage
No tile roof inspection is complete without checking the attic. Interior examination reveals problems invisible from the roof surface. The inspector looks for water stains on decking, mold or mildew growth, adequate ventilation, and insulation condition.
Daylight visible through the roof deck indicates gaps or holes. Water stains appear as dark discoloration and often show the leak’s travel path, which may be several feet from the actual entry point. The inspector traces stains backward to identify the source location.
Attic ventilation affects roof lifespan. Inadequate ventilation traps heat and moisture, accelerating underlayment deterioration. The inspector checks soffit vents, ridge vents, and gable vents to ensure proper airflow.
Documentation Through Photos and Measurements
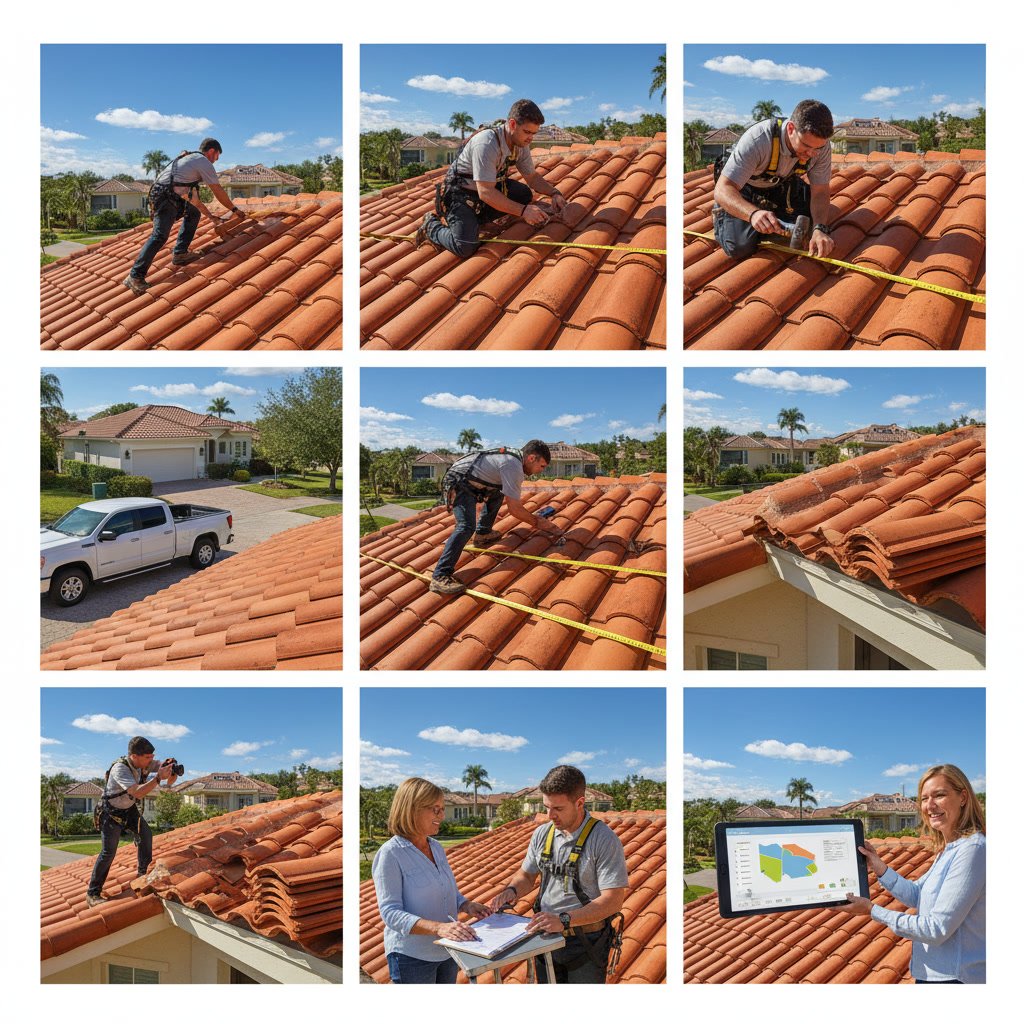
Modern inspections rely heavily on photographic documentation. Inspectors take dozens of photos showing overall roof condition, specific problem areas, measurements of damage, and comparative shots that provide context. These photos become part of the final report and prove invaluable when filing insurance claims or planning repairs.
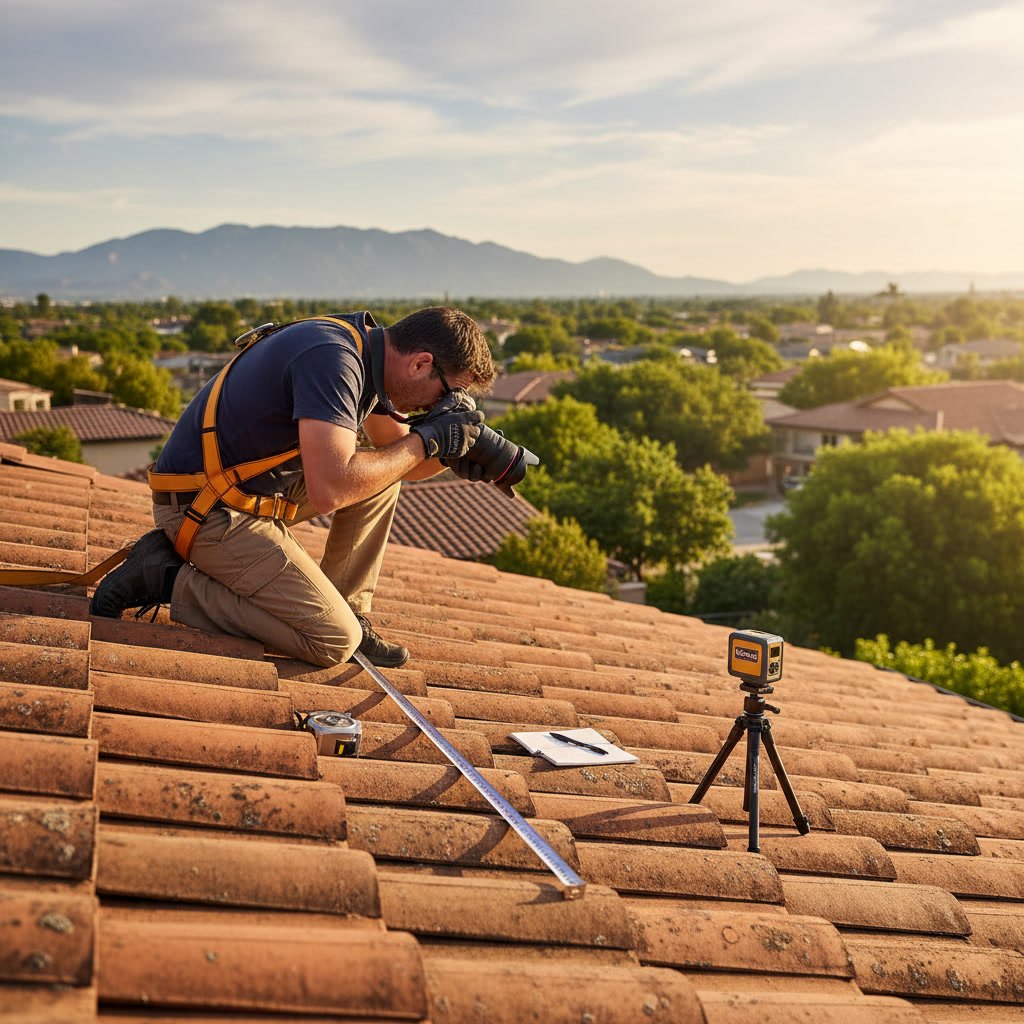
Measurements include roof dimensions, slope calculations, damaged area square footage, and counts of cracked or missing tiles. Accurate measurements help contractors provide precise estimates for any needed roof repair work.
Some inspectors use thermal imaging cameras to detect temperature differences that indicate moisture trapped beneath tiles or in decking. This technology identifies problem areas not visible to the naked eye.
The Post-Inspection Discussion and Initial Findings
After completing the physical inspection, the contractor discusses preliminary findings with you on-site. This conversation covers major concerns, urgent issues requiring immediate attention, and the general timeline for receiving the full written report.
This is your opportunity to ask questions about anything you noticed or concerns you have. Experienced inspectors explain findings in clear terms without technical jargon. They distinguish between cosmetic issues, items to monitor, and problems requiring prompt action.
If the inspection reveals severe damage or immediate leak risks, the inspector may recommend temporary protective measures or emergency repairs. Understanding whether you need minor fixes or might be facing roof replacement helps you budget and plan appropriately.
The Written Report and Recommendation Categories
Within one to two business days, you receive a comprehensive written report. Quality reports include an executive summary, detailed findings organized by roof section, annotated photographs with arrows or circles highlighting issues, and clear recommendations prioritized by urgency.
Recommendations typically fall into four categories: immediate repairs needed to prevent further damage, near-term maintenance items to address within six to 12 months, monitoring points to check during future inspections, and observations about roof condition that require no action.
The report should specify whether problems stem from installation errors, material failure, storm damage, or normal wear. This distinction matters for insurance claims and warranty coverage. Reports from licensed contractors carry more weight with insurance companies than those from unlicensed inspectors.
Moving Forward After Your Inspection
Understanding the complete inspection process helps you recognize thorough, professional work. A detailed inspection from a qualified contractor provides the information you need to protect your investment and plan for your roof’s future.
The written report becomes a baseline for tracking your roof’s condition over time. Schedule follow-up inspections every three to five years, or after major storms, to catch small problems before they become expensive repairs.
Quick Quote Roofing provides comprehensive tile roof inspections throughout the Brandon area, using licensed professionals who understand Florida’s unique roofing challenges. Whether you need a routine checkup or suspect your roof has damage, a thorough inspection gives you the facts you need to make smart decisions. Call +18135647603 to schedule your inspection and receive a detailed report within 48 hours.