A professional roof repair process follows a structured path from initial contact through completed work and final billing. The typical repair takes between one and five days depending on damage extent, weather conditions, and material availability. Understanding each phase helps property owners make informed decisions and recognize quality workmanship when they see it.
Why Understanding Each Step Matters Before Work Begins
Transparency separates professional contractors from those who cut corners. When you know what should happen at each stage, you can identify red flags early and ask the right questions. A contractor who clearly explains their process demonstrates confidence in their methods and respect for your investment.
The repair timeline affects scheduling, insurance claims, and how you prepare your property. Some homeowners need to arrange temporary housing if interior damage exists, while others simply need to move vehicles and outdoor furniture. Knowing the sequence helps you plan appropriately.
Initial Contact and Emergency Response Protocols
Your first call triggers an intake process where the office gathers basic information about your location, the visible problem, and whether the situation qualifies as an emergency. Active leaks, missing shingles after storms, and structural concerns receive priority scheduling, often within 24 hours.
Non-emergency repairs typically schedule within three to seven business days. The scheduler confirms your address, asks about roof age and type, and explains what the initial inspection will cover. This conversation establishes whether insurance may be involved, which changes documentation requirements from the start.
The Professional Inspection and Damage Assessment in Valrico
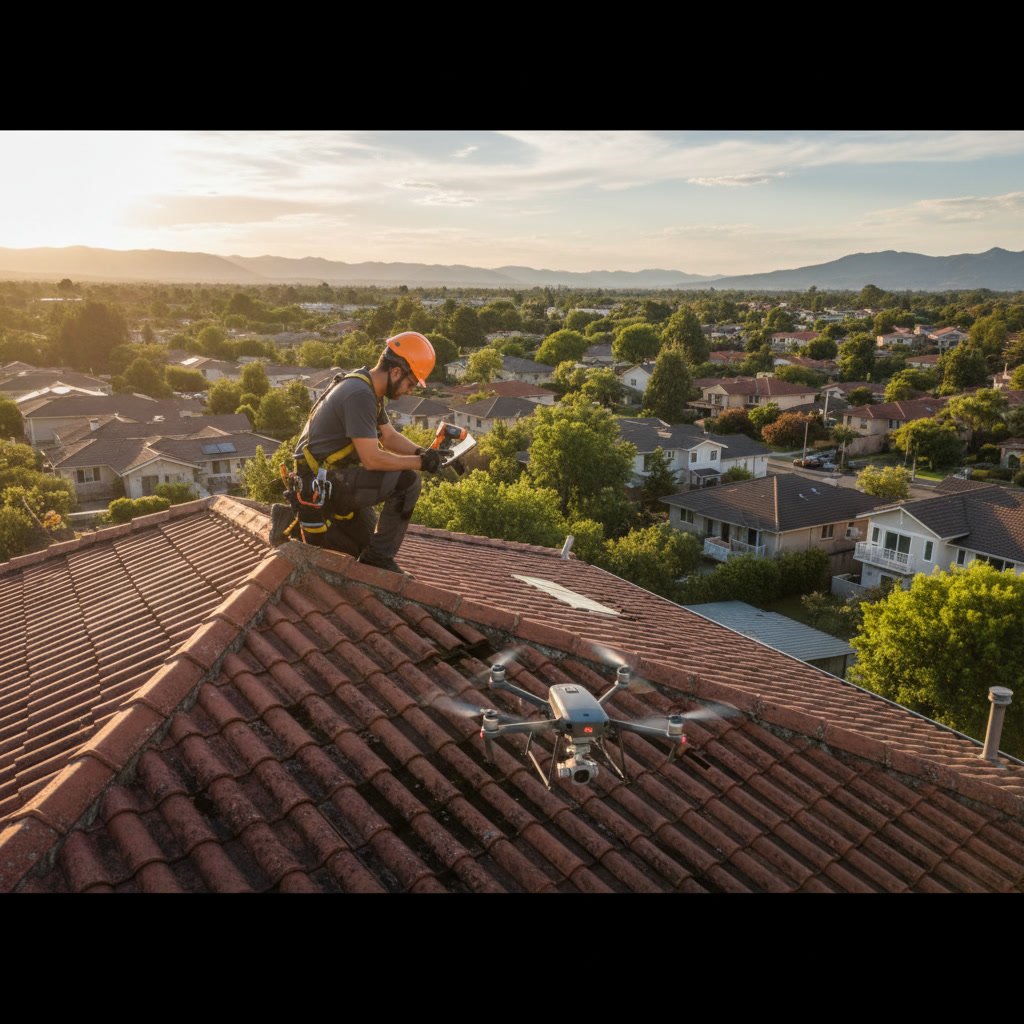
A thorough roof inspection examines far more than the obvious problem. The technician checks surrounding areas because damage rarely occurs in isolation. Water stains inside your home might originate 10 feet away from where you see discoloration due to how water travels along roof decking.
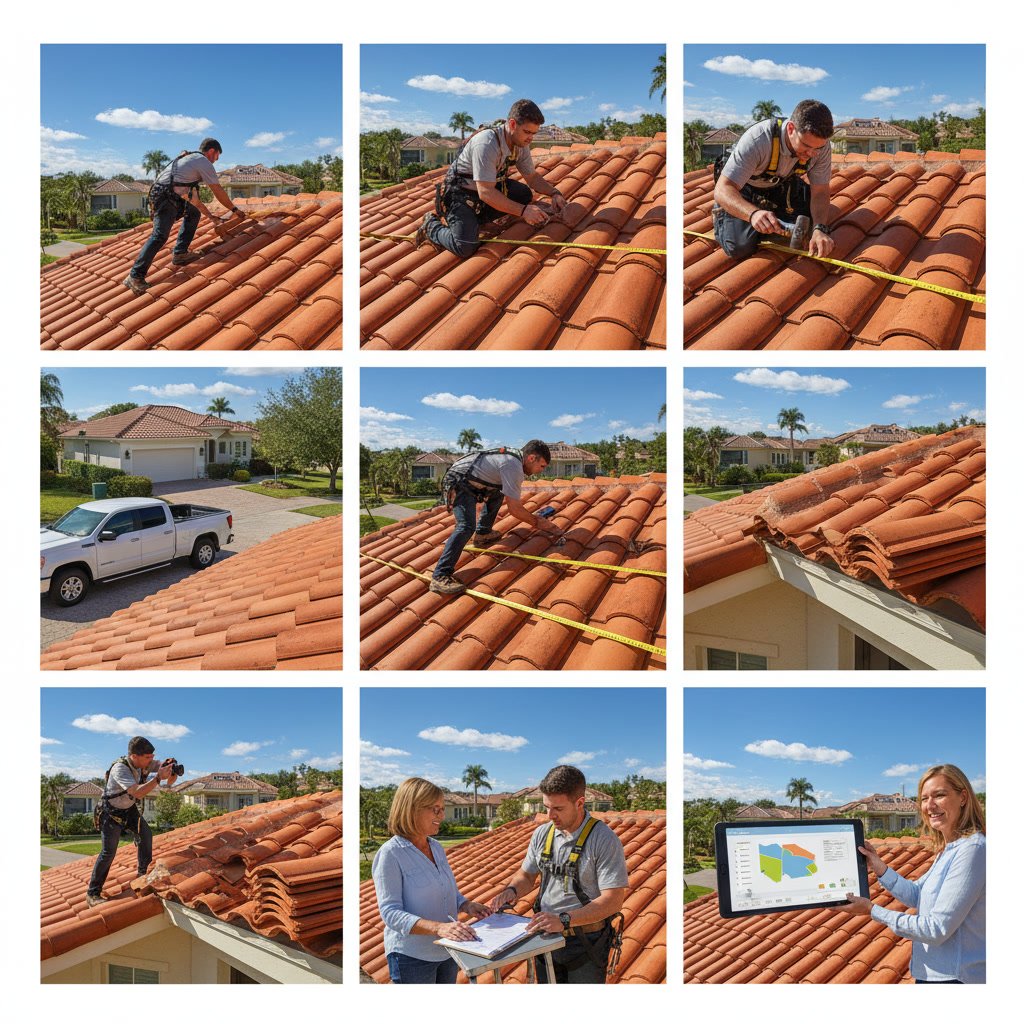
The inspector documents findings with photos, measurements, and notes about material condition. They check flashing around chimneys and vents, examine valleys where two roof planes meet, and assess the overall remaining lifespan of your roofing system. This comprehensive approach prevents return visits for issues that could have been addressed during the same repair.
For tile roofing systems, inspectors often discover that intact tiles hide failed underlayment beneath, a situation that requires different repair strategies than surface damage alone.
Written Estimates and Scope Definition
The estimate breaks down labor, materials, disposal fees, and any permits required by local building departments. Detailed estimates list specific products by manufacturer name and model number rather than generic descriptions. This specificity protects you if substitutions occur without your approval.
Reputable contractors separate the repair scope into required work versus recommended additional services. For example, fixing a leak around a vent pipe might be necessary, while replacing aging pipe boots throughout the roof is recommended preventive maintenance. This distinction helps you prioritize if budget constraints exist.
The estimate should clearly state the warranty coverage for both labor and materials. Most professional repairs carry a workmanship warranty of one to five years, while material warranties depend on manufacturer terms.

Insurance Coordination and Documentation Standards
When insurance covers the repair, the contractor typically meets with the adjuster on-site to review damage together. Experienced contractors understand insurance protocols and can advocate for complete repairs rather than temporary patches that fail prematurely.
The documentation phase becomes more detailed with insurance involvement. Every damaged component requires photographic evidence, and the estimate must match insurance industry standard pricing databases. This coordination can add three to ten days to the timeline while waiting for claim approval.
Some contractors offer to handle the entire insurance claim process, while others provide documentation for you to submit independently. Understanding the cost structure helps you evaluate whether your deductible makes an insurance claim worthwhile for smaller repairs.
Material Ordering and Weather Window Planning
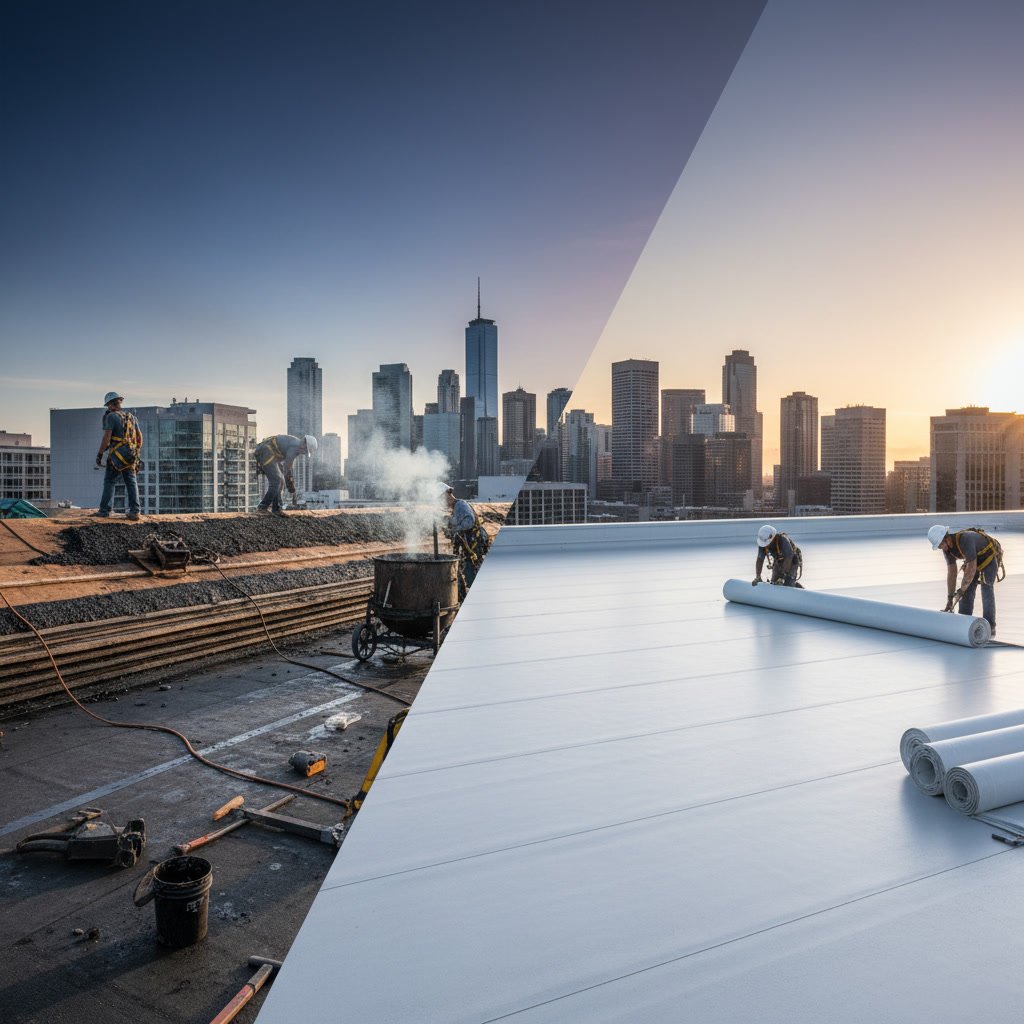
Once you approve the estimate, the contractor orders materials. Standard asphalt shingles typically arrive within two to five business days, but specialty materials like custom flat roofing membranes or color-matched tiles may require two to four weeks.
Weather plays a crucial role in scheduling. Most roofing work requires at least a 24-hour window without rain, and some materials demand temperatures above 40 degrees for proper adhesion. Professional contractors monitor forecasts closely and communicate schedule changes promptly rather than starting work during marginal conditions.
The contractor confirms the start date 48 hours in advance and provides preparation instructions. These typically include clearing the driveway for equipment access, protecting landscaping near the work area, and informing neighbors about temporary noise and activity.
The Repair Day Work Sequence
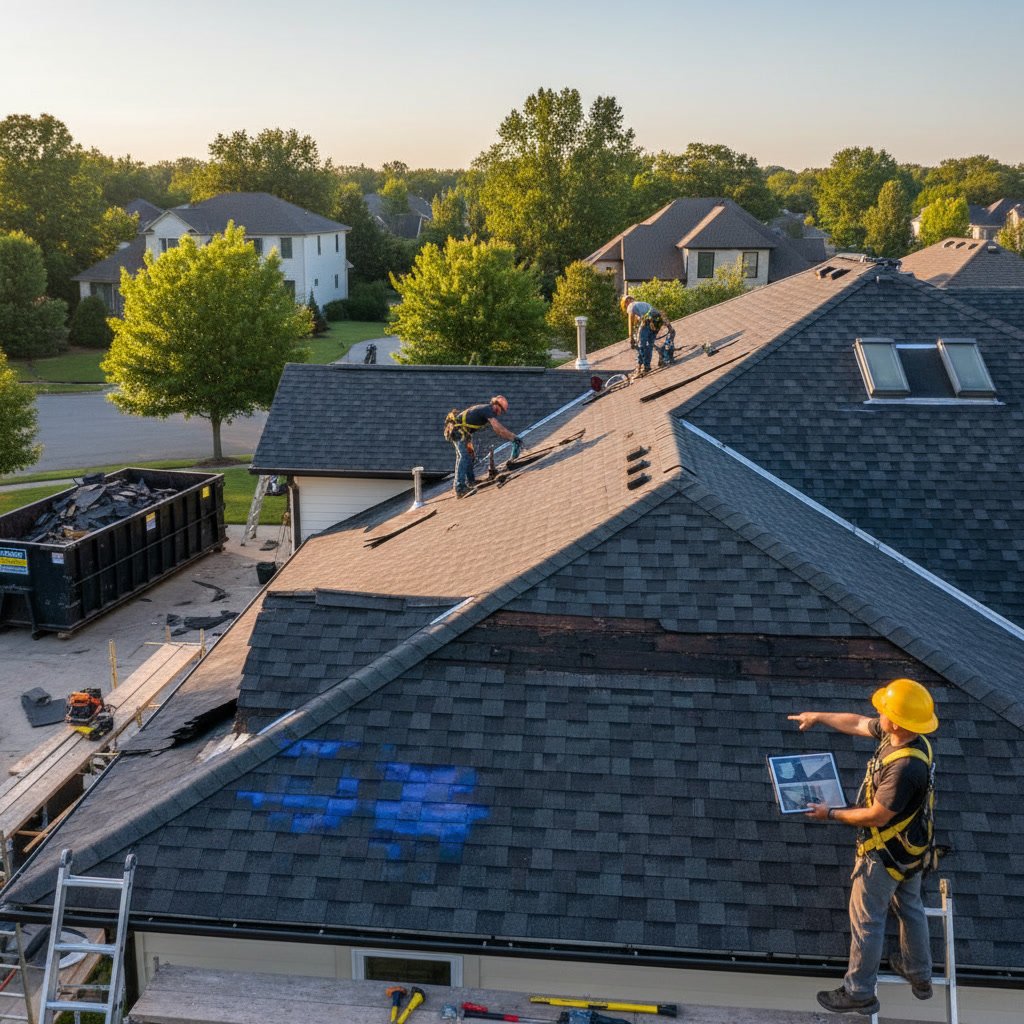
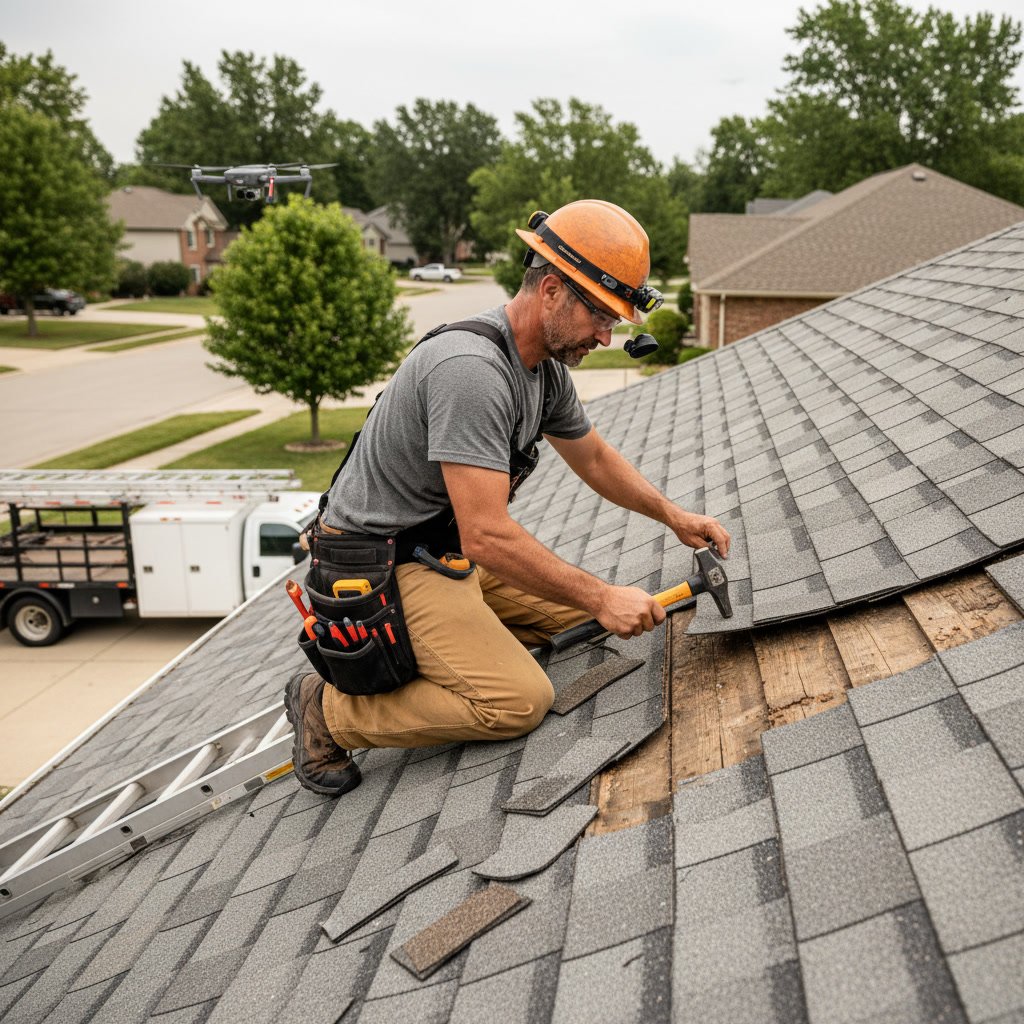
The crew arrives and establishes safety perimeters, sets up ladders or scaffolding, and covers sensitive areas with tarps. The first task involves carefully removing damaged materials without expanding the affected area unnecessarily.
For leak repairs, workers inspect the decking once shingles are removed. Rotten or soft decking requires replacement before new roofing materials can be installed. This additional work sometimes appears after tear-off begins, which is why estimates often include contingency language about concealed damage discovered during repairs.
The installation sequence depends on repair type. Simple shingle replacement involves removing damaged pieces, installing new underlayment if needed, and securing new shingles with the proper nail pattern. More complex repairs involving flashing require precise measurements and custom metal work to ensure watertight seals.
Quality Control Checks and Temporary Protection
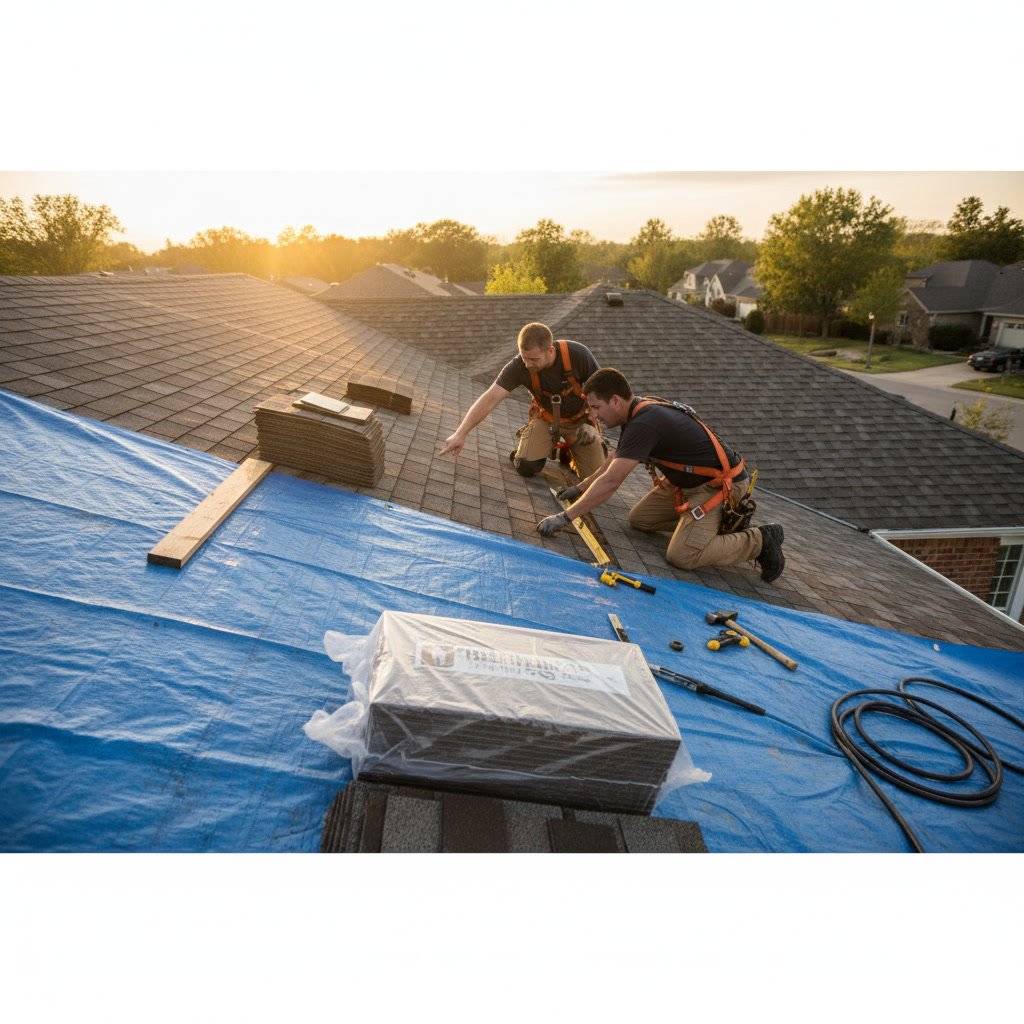
Before the crew leaves each day, they verify that all work areas are weather-protected. Even if the repair spans multiple days, no opening should remain exposed overnight. Temporary tarps and sealants prevent new damage while work continues.
The lead technician performs a quality check of completed sections, verifying nail placement, sealant application, and proper shingle alignment. This internal review catches installation errors before they become callbacks. Professional crews clean up debris continuously rather than leaving it until project completion.
One expert insight that separates quality repairs from mediocre work is attention to thermal expansion. Materials expand and contract with temperature changes, so fasteners must be driven flush but not over-driven. Over-driven nails tear the material and create future leak points, while under-driven nails allow wind uplift. This precise installation technique requires training and quality control that rushed crews often skip.
Final Walkthrough and Punch List Resolution
Upon completion, the contractor walks the property with you to review the finished work. They explain what was done, show you photos of underlying conditions discovered during repair, and point out areas that may need attention in the future.
This walkthrough is your opportunity to ask questions and identify any concerns before the crew demobilizes. Professional contractors welcome scrutiny and address legitimate concerns immediately. The punch list documents any minor items that need adjustment, such as a missed nail or a piece of flashing that needs repositioning.
The contractor should also review maintenance recommendations specific to your roof type. Different materials require different care, and understanding proper maintenance extends the life of your repair and entire roofing system.
Documentation Package and Warranty Registration
You receive a complete documentation package that includes the original estimate, invoice, material specifications, warranty information, and maintenance guidelines. This package becomes essential if you sell your home or file future insurance claims.
Material warranties often require registration within a specific timeframe after installation. Some contractors handle this registration as part of their service, while others provide the necessary information for you to complete it independently. Missing registration deadlines can void manufacturer coverage, so clarify this responsibility before the contractor leaves.
The documentation should also include before and after photos, which prove valuable for insurance records and demonstrate the scope of work completed. These photos become part of your home maintenance history.
Payment Terms and Final Invoice Processing
Payment structures vary by contractor and project size. Some require a deposit before material ordering, with the balance due upon completion. Others work entirely on completion payment for smaller repairs. Insurance-funded repairs often involve a three-party payment process where the insurance company pays the contractor directly or reimburses you after you pay the contractor.
The final invoice should match the approved estimate unless change orders were signed for additional work discovered during repair. Any discrepancies require explanation and your approval before payment is due. Professional contractors provide itemized invoices that clearly show what you’re paying for.
Payment methods typically include checks, credit cards, and electronic transfers. Be cautious of contractors who demand cash only or pressure you to pay before you’re satisfied with the work. Legitimate businesses provide multiple payment options and formal receipts.
Your Path Forward With Confidence
The roof repair process protects your largest investment through systematic evaluation, quality workmanship, and transparent communication. Each step builds on the previous one to deliver lasting results that withstand weather and time. Understanding this sequence empowers you to choose contractors who respect both the technical demands of roofing and your role as an informed property owner.
Quick Quote Roofing follows this proven process for every roof repair project throughout the Brandon area. Our licensed team provides detailed estimates, quality materials, and workmanship backed by our commitment to transparent service. Contact us at +18135647603 to schedule your inspection and receive a detailed assessment of your roofing needs.