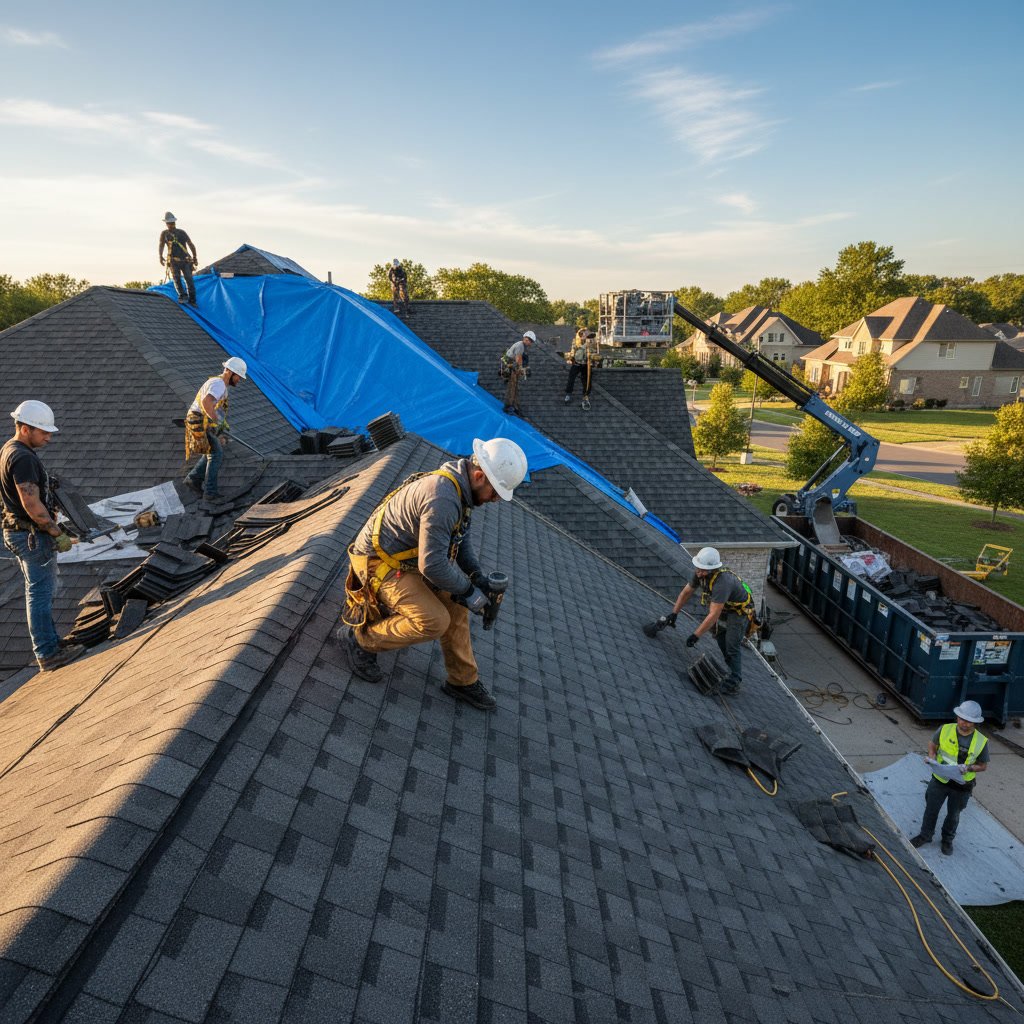
A professional roof replacement process follows a structured sequence designed to protect your investment and ensure quality results. From the moment you sign the contract until the final nail is inspected and every scrap of debris is removed, each phase plays a critical role in delivering a durable, weather-tight roof. This systematic approach minimizes disruption to your daily routine while maximizing the lifespan of your new roofing system.
Why Understanding Each Phase Matters
Knowing what happens at each stage removes uncertainty and helps you prepare your property and family. Many homeowners feel anxious about the noise, mess, and temporary exposure during installation. When you understand the timeline and what crews will be doing on any given day, you can plan around the work, protect valuables inside your home, and recognize whether the project is progressing normally or requires your attention.
Transparency during the roof replacement process also protects you financially. You’ll know when to expect material deliveries, when inspections occur, and when final payment is due. This clarity prevents misunderstandings and ensures both you and your contractor stay aligned throughout the project.
Contract Signing and Pre-Construction Planning
Once you’ve selected your contractor and received a detailed estimate, the contract formalizes the agreement. This document should specify the roofing materials, brand names, color selections, start and completion dates, total cost, payment schedule, and warranty details. Review every line carefully before signing, and don’t hesitate to ask questions about anything unclear.
After contract execution, your contractor orders materials and schedules the work. Lead times vary depending on the roofing system you’ve chosen. Standard tile roofing or asphalt shingles may arrive within days, while specialized products sometimes require weeks. Your contractor will also pull necessary permits from local building departments, ensuring the work meets code requirements.

Material Delivery and Site Preparation
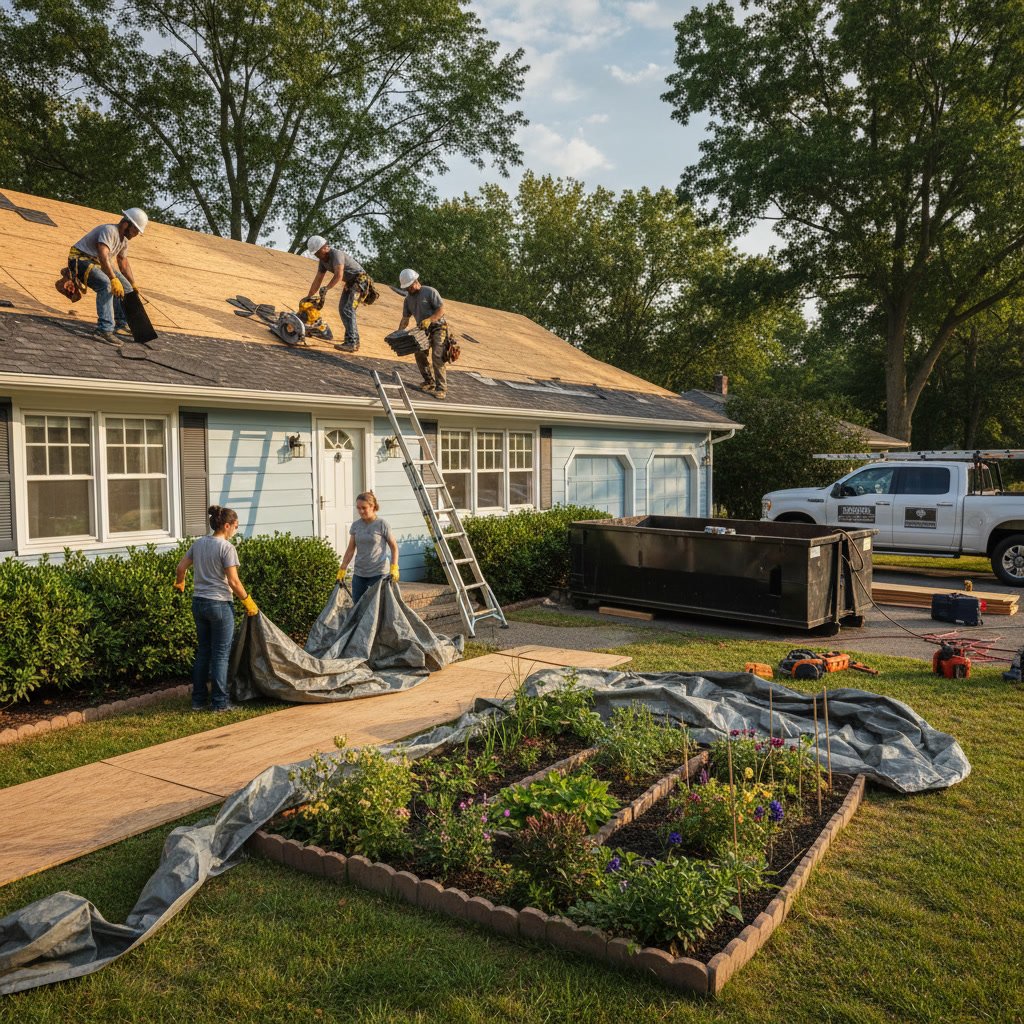
Roofing materials typically arrive one to two days before work begins. Shingle bundles, underlayment rolls, flashing, fasteners, and ventilation components are delivered on flatbed trucks and either stored in your driveway or lifted directly onto the roof using a conveyor system or crane. The delivery creates temporary inconvenience, blocking driveways or requiring parking adjustments, but it signals that installation will start soon.
Crews also prepare the site by setting up equipment, placing tarps to catch debris, and moving outdoor furniture or potted plants away from the house perimeter. If you haven’t already done so, this is when you should complete interior preparations like removing wall hangings, securing fragile items, and covering attic storage with drop cloths to protect against dust.
Tear-Off and Deck Inspection in Valrico
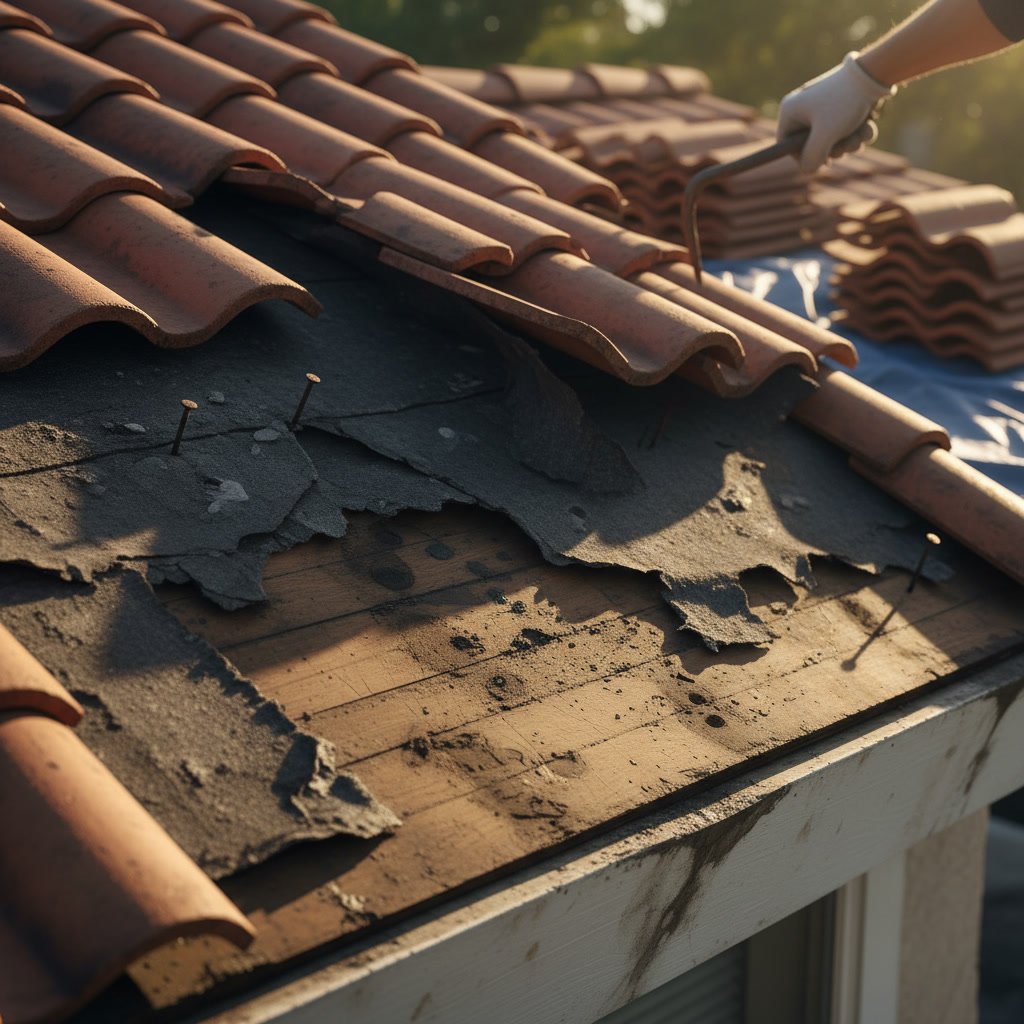
The loudest and messiest phase begins when crews remove the existing roof. Workers use specialized tools to strip away old shingles, tiles, or other materials down to the roof deck. This process generates significant noise and vibration throughout the house. Pets and young children may be more comfortable staying elsewhere during this day.
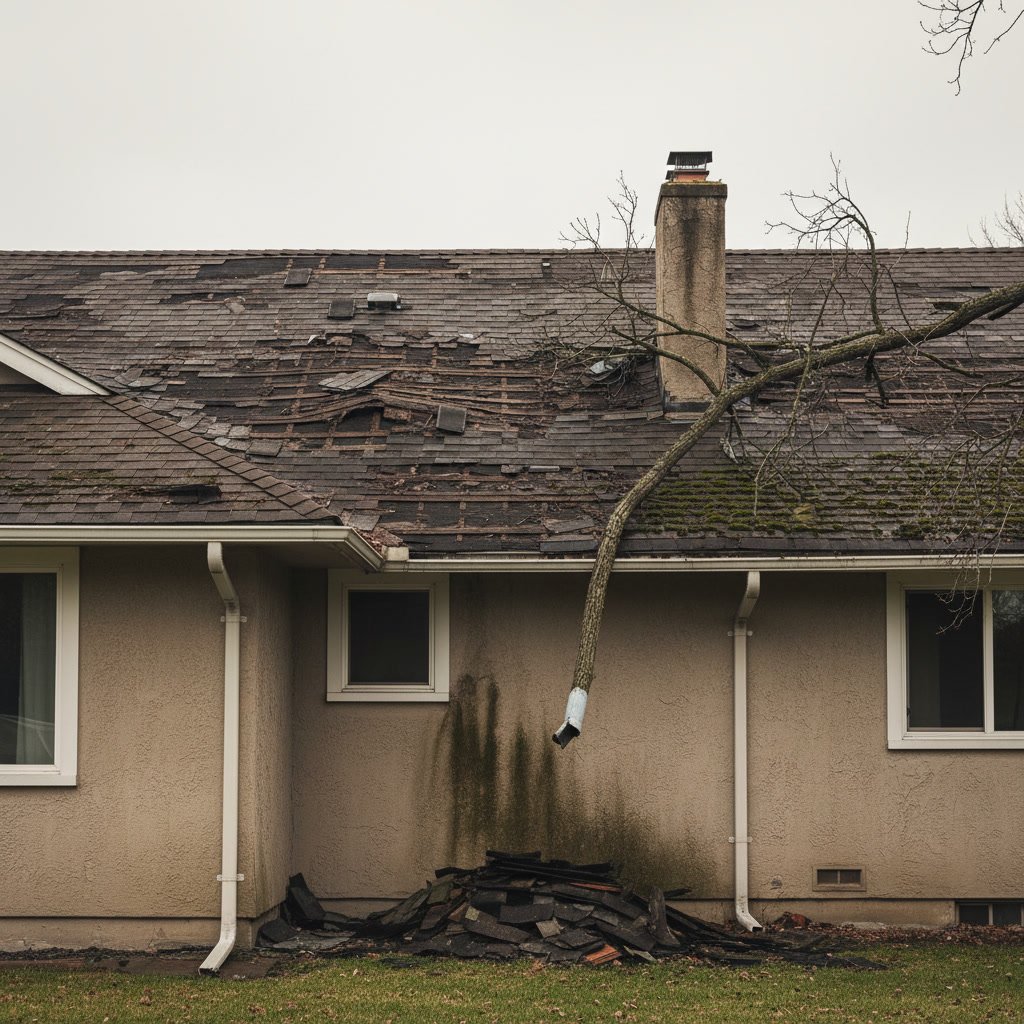
As sections of decking become exposed, the crew inspects the plywood or OSB sheathing for rot, water damage, or structural weakness. Any compromised boards are marked and replaced immediately. This step is critical because even the highest-quality roofing materials won’t perform properly over a damaged substrate. Homeowners in areas with frequent severe weather should expect this inspection to reveal issues, especially if the previous roof exceeded its expected lifespan.
Deck Repair and Reinforcement
Damaged decking sections are cut out and replaced with new plywood or OSB that matches the existing thickness. Fasteners secure the new boards to the rafters or trusses, creating a solid, uniform surface. In some cases, building codes have changed since the original roof was installed, requiring additional fastening or upgraded materials. Your contractor will address these updates to ensure compliance.
If your home requires enhanced wind resistance, crews may install additional hurricane straps or clips during this phase. These metal connectors tie the roof structure more securely to the walls, reducing the risk of uplift during high winds. Understanding how contractors adapt to wind zones helps you appreciate why these upgrades matter, even if they add modest cost to your project.
Step-by-Step Installation Sequence
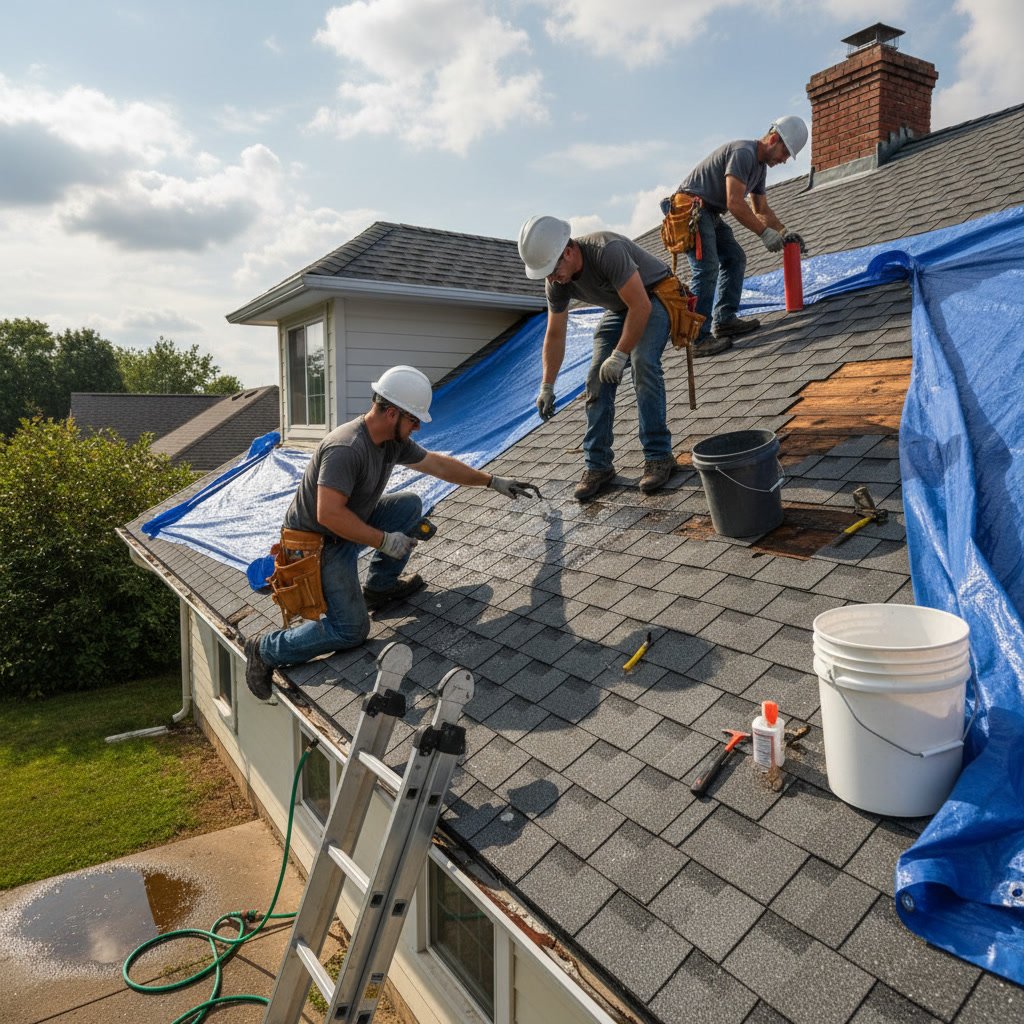
Once the deck is sound, installation follows a methodical sequence designed to keep your home protected at every stage:
- Drip Edge Installation: Metal drip edge is fastened along the eaves and rakes to direct water away from fascia boards and prevent rot.
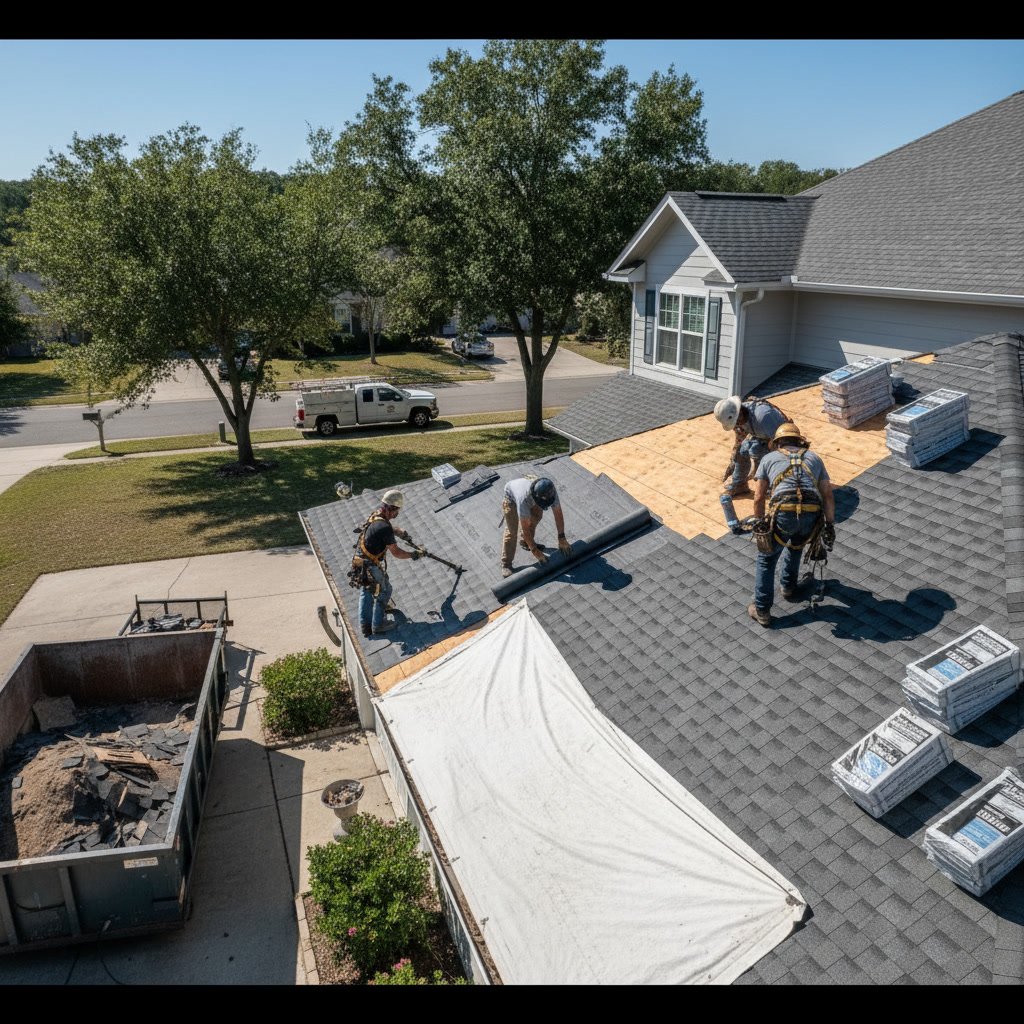
- Underlayment Application: Synthetic or felt underlayment is rolled out across the deck, starting at the eaves and working upward with overlapping courses. This layer provides a secondary water barrier.
- Ice and Water Shield: In vulnerable areas like valleys, eaves, and around penetrations, self-adhering waterproof membrane is applied for extra protection.
- Valley Flashing: Metal flashing is installed in roof valleys where two slopes meet, channeling water toward gutters.
- Starter Shingles or Tiles: The first course along the eaves is specially designed to seal edges and prevent wind-driven rain from penetrating.
- Field Installation: Main roofing materials are installed in overlapping courses from bottom to top, following manufacturer specifications for exposure and fastener placement.
- Ridge Vents and Cap: Ventilation components are installed along the ridge, followed by cap shingles or tiles that seal the peak.
- Flashing Around Penetrations: Chimneys, vent pipes, skylights, and other roof penetrations receive custom flashing to prevent leaks.
Each step builds on the previous one, creating a layered defense against weather. Skipping steps or rushing through them compromises the entire system, which is why quality contractors allocate sufficient time for proper installation.
Quality Control and Mid-Project Inspections
Reputable contractors perform internal quality checks throughout installation. Crew leaders verify that fastener spacing meets specifications, that flashing is properly sealed, and that alignment stays consistent across the roof planes. These checks catch errors before they become hidden problems.
Many jurisdictions also require mid-project inspections by building officials. An inspector visits the site after underlayment is installed but before the finish roofing goes down. The inspector verifies that the deck is sound, that underlayment and flashing meet code, and that ventilation is adequate. Work cannot proceed until the inspector signs off, so scheduling this visit promptly keeps your project on track.
Final Installation and Detail Work
After the main roof surface is complete, crews focus on finishing touches. Ridge caps are carefully aligned and sealed. Flashing around chimneys and skylights receives caulk or sealant where metal meets masonry or glass. Gable vents, turbine vents, or other ventilation components are installed and tested for proper airflow.
Attention to these details separates mediocre installations from exceptional ones. A single improperly sealed flashing joint can cause leaks that damage ceilings and insulation. Experienced contractors know that the last 10 percent of the work often determines whether a roof lasts 15 years or 30.
Cleanup and Debris Removal
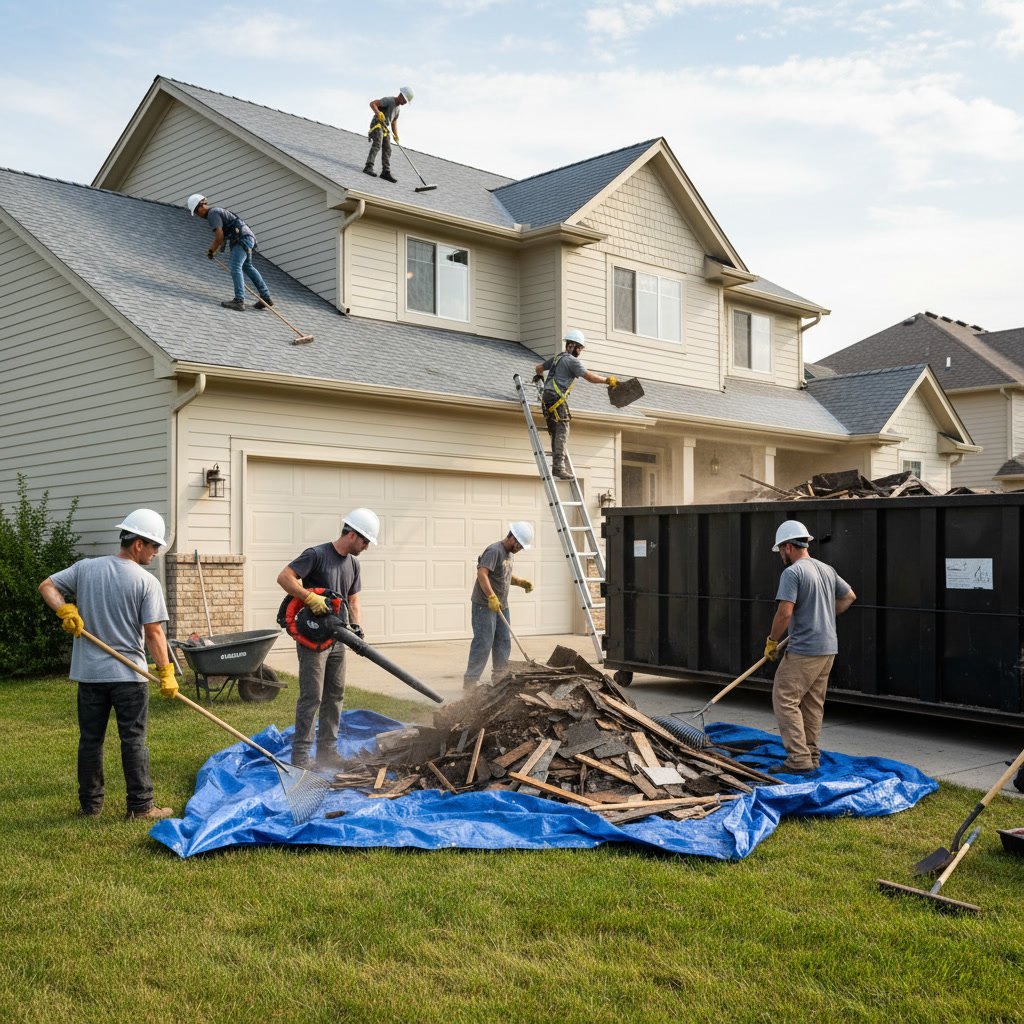
Professional cleanup begins each evening as crews wrap up for the day and concludes with a thorough site sweep after installation finishes. Magnetic rollers collect loose nails from driveways, lawns, and flowerbeds. Tarps full of old shingles and debris are hauled away to disposal facilities. Gutters are cleaned of granules and small debris.
A final walk-around inspection ensures no materials, tools, or trash remain on your property. Your contractor should leave your home looking as clean as it did before work began, except for the new roof overhead. Any landscape damage, such as crushed plants or disturbed mulch, should be repaired or discussed before final payment.
Final Inspection and Documentation
Before the project closes, a final building inspection confirms that all work meets code. The inspector checks fastener patterns, flashing details, ventilation adequacy, and overall workmanship. Once approved, the inspector issues a certificate of completion or a final approval notice. This document is essential for your records and may be required when you sell your home or file insurance claims in the future.
Your contractor should also provide you with warranty documentation from both the material manufacturer and the installation company. Keep these documents safe along with photos of the completed work, invoices, and permit records. If you selected flat roofing or another specialty system, you may receive additional maintenance guidelines specific to that material.
Your Investment Protected and Complete
A well-executed roof replacement process transforms one of your home’s most critical systems while minimizing stress and disruption. Each phase, from contract signing through final inspection, contributes to a result that protects your family and property for decades. By understanding what happens at every step, you can confidently oversee the work, ask informed questions, and ensure you receive the quality installation your investment deserves.
Quick Quote Roofing brings trained professionals and quality materials to every roof replacement project, ensuring each phase is completed to the highest standards. Whether you need residential or commercial roofing services, our team guides you through the entire process with transparency and expertise. Contact us at +18135647603 to schedule your consultation and experience a roof replacement process built on quality and trust.